Okay, so me and a colleague were tasked with a job which meant we had a short space of time to test around 300 devices spread over 10+ VLANs. We could have requested that a port was set up on each switch for us to gain access but we also had a trunk port set up. (Cheers to DK1 for the pointers)
A trunk port basically allows you to set your device up to connect to multiple VLANs. In the Cisco world VLANs are local to each switches database and VLAN information is not generally passed between switches. Using a trunk port will allow you to connect two switches together so that they can send data regardless of VLAN.
To set up a trunk port on a Cisco device you need to do roughly the following (milage might vary):
1 2 3 4 5 6 7 8 | interface GigabitEthernet0/10 description PenTesting-delete after 31/12/13 switchport trunk encapsulation dot1q switchport trunk native vlan 0 switchport mode trunk switchport nonegotiate no cdp enable no shutdown |
Trunk ports only carry VLAN tagged packets so when a switch receives data on it’s trunk port it forwards it to the VLAN denoted by the frame tag. The reason we have set native vlan 0 is to ensure that anything that isn’t tagged is set to a specific VLAN.
Now that the switch is set up for trunking we need to ensure that our testing device is set up for VLAN trunking. In Kali Linux this is as easy as apt-get install vlan
Then we need to set up the interfaces that we will associate with the VLANs. We can call them anything we want but in this instance we will call them vlanx (where x denotes the VLAN number).
Open /etc/network/interfaces using your favourite text editor (we all know nano is best!). And then set up the interfaces as follows:
1 2 3 4 5 6 7 8 9 10 11 12 13 14 15 16 17 18 19 20 21 22 23 24 | # The loopback network interface auto lo iface lo inet loopback # VLAN Settings auto eth0 auto vlan10 iface vlan10 inet static address 10.0.0.200 netmask 255.255.255.0 vlan_raw_device eth0 auto vlan172 iface vlan172 inet static address 172.16.0.200 netmask 255.255.255.0 vlan_raw_device eth0 auto vlan192 iface vlan192 inet static address 192.168.0.200 netmask 255.255.255.0 vlan_raw_device eth0 |
Note: If you’re using Kali Linux make sure you remove entries from the network-manager to prevent it from trying to take over your network (Why the devs of Kali Linux defaulted to a network manager in a hacker distro I do not know, I mean aren’t the people using the distro meant to understand about networking and don’t need hand holding?)
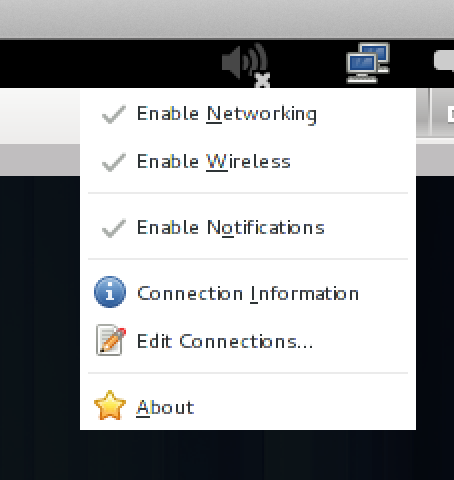
Disable networking by going to the networking manager in the top right and clicking “Edit Connections…”
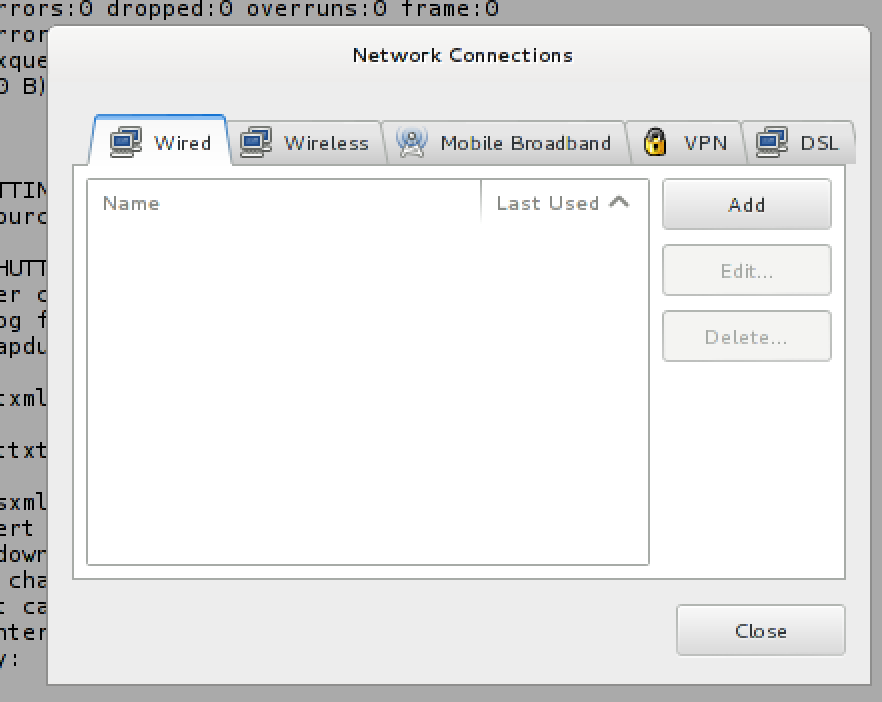
Then delete all the network connections from the wired tab:
Then you need to restart your networking so that the new VLAN interfaces are brought up:
1 2 3 4 5 6 7 8 9 10 | root@kali:~# service networking restart [....] Reconfiguring network interfaces...Ignoring unknown interface eth0=eth0. WARNING: Could not open /proc/net/vlan/config. Maybe you need to load the 8021q module, or maybe you are not using PROCFS?? Set name-type for VLAN subsystem. Should be visible in /proc/net/vlan/config Added VLAN with VID == 10 to IF -:eth0:- Set name-type for VLAN subsystem. Should be visible in /proc/net/vlan/config Added VLAN with VID == 172 to IF -:eth0:- Set name-type for VLAN subsystem. Should be visible in /proc/net/vlan/config Added VLAN with VID == 192 to IF -:eth0:- done. |
To test that the interfaces are up run a quick arp scan across the interfaces using the following:
1 | for i in `cat /etc/network/interfaces | grep auto | grep -v lo | cut -d" " -f 2` ; do arp-scan -l -I $i ; done |
Leave a Reply
You must be logged in to post a comment.