
So I’ve started doing a few active directory audits recently and noticed that I’m repeating myself over and over again.
As such I’ve decided to write as much of this up as possible in a powershell script to make my life easier. I chose powershell for two reasons; 1. I need to learn powershell, 2. I don’t want to drop an exe on a remote box.
This script doesn’t do… Continue reading
")
So I use CherryTree to keep my notes. What I like about it is the tree structure that allows me to easily find my notes, and if I cant I simply use the search function. I used to use Evernote but found it bloated. The good thing about CherryTree is it’s open source and runs using python. You can find out more about the project at the GitHub page here… Continue reading
The other weekend I wrote some notes on how to quickly spin up an IPv6 test lab. The idea for this was to allow me to write a custom tool to enumerate hosts that respond to IPv6 neighbour discovery on my local network. I then wanted that tool to identify the corresponding IPv4 address for that host (if there is one). And finally, identify if the IPv6 address is… Continue reading

So IPv6 is on the rise and I needed something simple to play with IPv6. I decided the best port of call would be spinning up a netkit lab inside a VM. I quickly built a light weight ubuntu 16.04×64 machine and installed netkit. (Installation is pretty simple, just follow the details on the homepage)
I then downloaded the Lab hosted here which is perfect and has everything you… Continue reading

So there is the Hak5 LanTutle which is a great bit of kit. However I feel it is severely limited by the lack of onboard WiFi. The same for Mubix‘s post ‘Snagging Creds from locked machines…‘
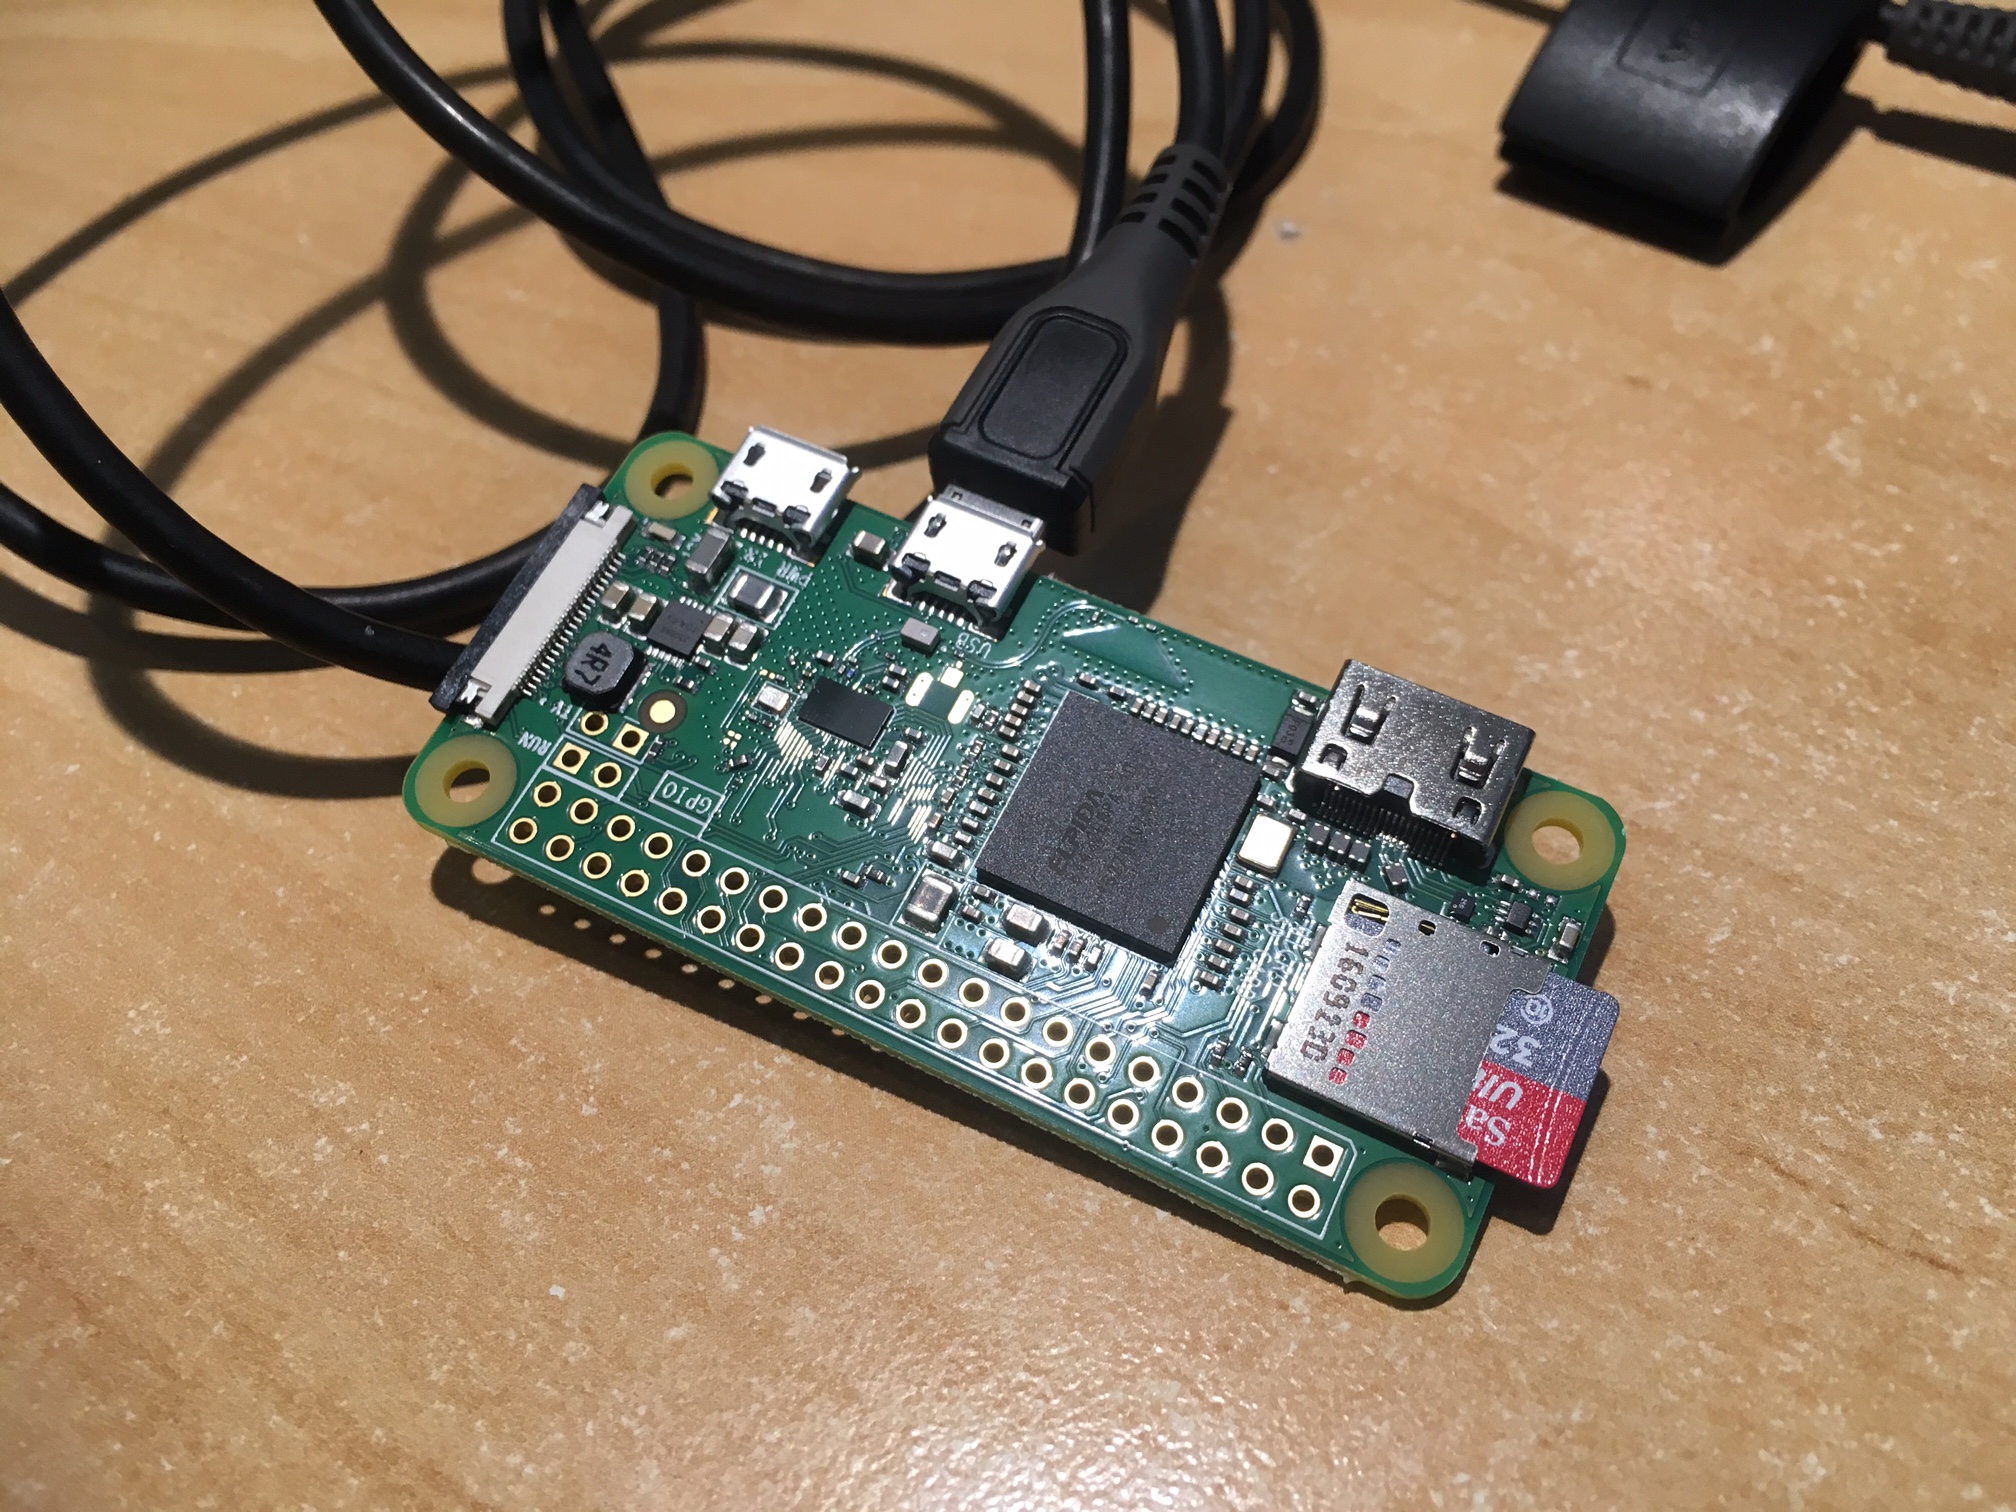
First off, buy yourself an PiZeroW. You’ll also need a MicroSD card and something to read/write it.
Download latest image of raspbian lite and copy it to the MicroSD
1sudo dd… Continue reading